More details on your custom-made sail
Custom made shade sails
Using the configurator
In order to correctly configure your custom-made roller shade sail, there are five steps:
-
Choice of shape: you can directly choose the shape of your shade sail: triangle, right-angled triangle, rectangle, square or trapezoid. The online configurator allows you to make a customised shade sail to better suit your configuration. You must first choose the shape of your shade cloth.
-
Fabrics and colours: Australe 340 or Acryl 300? You will find explanations of these finishes in the materials tab.
-
Dimensions: you can choose to insert the dimensions of the sail or the distances between the fixing points.
-
Withdrawals: keep the tension distance recommended by Espace Ombrage or select your own values.
-
Fixings and accessories: select the right products to keep you shade in tension.
Materials and colours
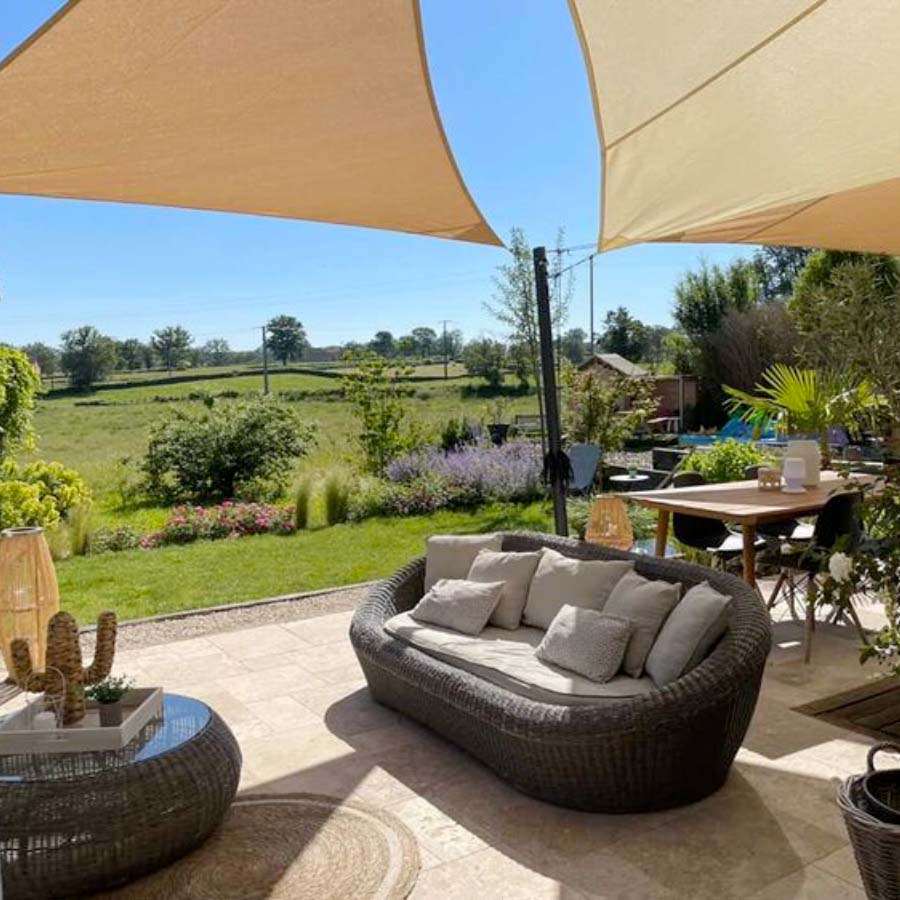
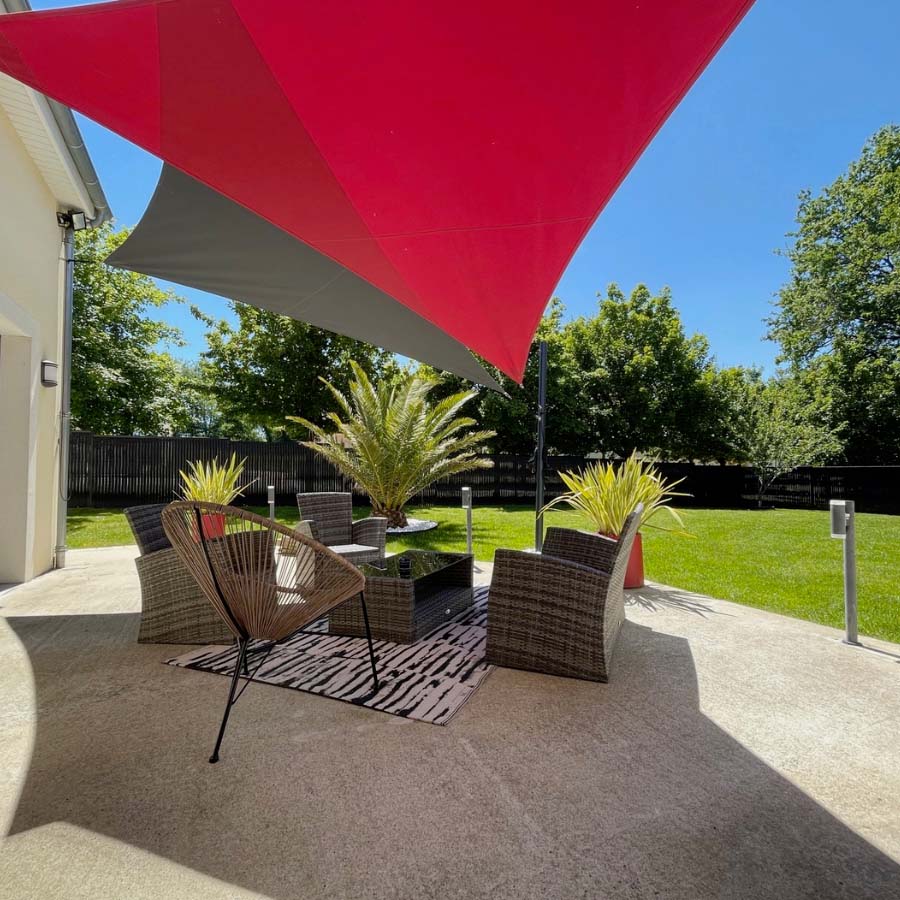
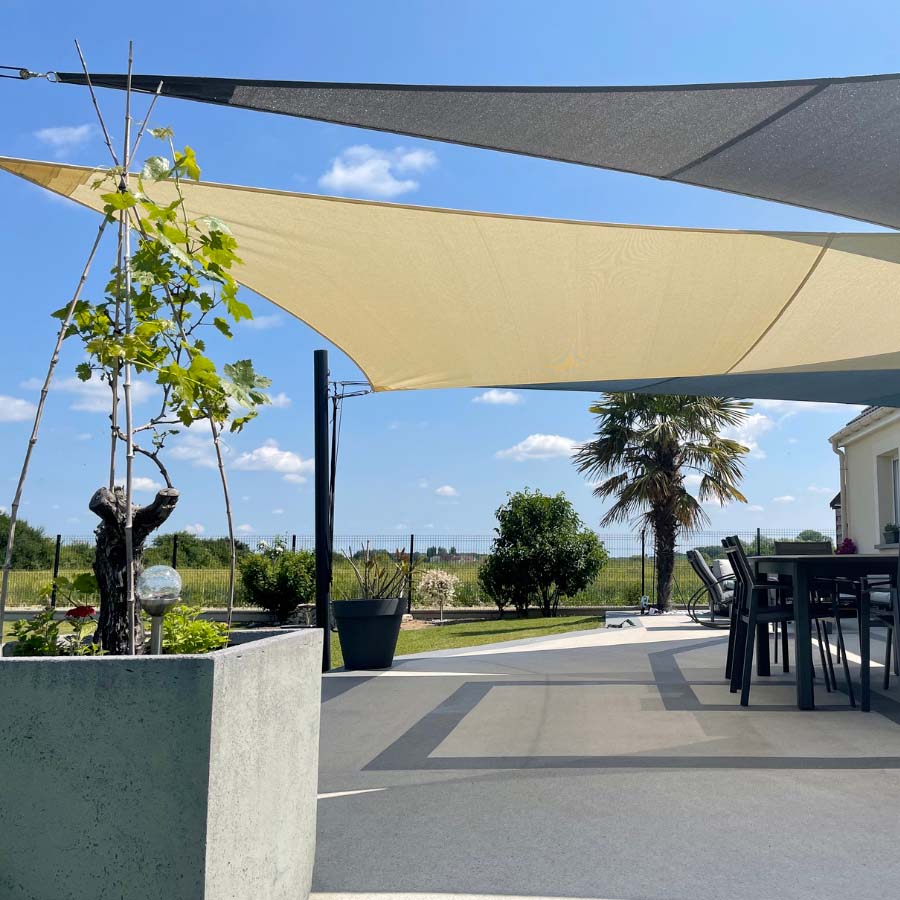
In the range of custom-made sails, we offer two materials for shade sails.
Australe 340 openwork sail
The Australe 340 openwork shade sail provides optimum protection from the sun with 97% UV filtration while withstanding winds of up to 80km/h.
Available in 12 colours, this sail will adapt to all environments and is very resistant. It is a material used for both professional and residential installations.
Acryl 300 Waterproof Sail
The Acryl 300 waterproof shade sail is a finish that filters 97% of UV rays and provides protection against rain. Its 25 colours will elegantly dress all your outdoor spaces. Because of its waterproofness, it is essential to provide a slope of 25% to drain off rainwater.
The darker the colour, the cooler you will feel under the sail. This is because darker colours limit the reflection of rays on the ground.
Canvas dimensions
Sails can have sides of up to 750cm and a maximum area of 28m2.
It should be noted that all shade sails have curved sides with a "negative 5 to 6%". This is typical of a shade sail so that it can be properly stretched and flat. Please note that you have to choose between entering the dimensions of the sail or the distances between fixing points. If you choose the "distances between fixing points, A'B'C'" option, the sail will be smaller in order to allow for the fixing distances recommended by Espace Ombrage.
What is the difference between the dimensions of the sail and the dimensions between the fixing points?
We offer two methods to create the sail you are looking for:
- Method 1 (blue dimensions): to answer I know "the dimensions of the sail";
This method answers two situations:
- I want the same sail as the one I already have;
- I want the sail for which I have defined the dimensions myself.
- Method 2 (red dimensions): to answer I know "the distances between fixing points".
This method answers the following situation: I know the 3 or 4 points to which I want to attach my sail.
These two methods will allow you to obtain a sail whose dimensions will correspond to your environment.
Please note that all measurements in this tool are in cm.
1. Method 1: "I know the dimensions of the sail
1.1. I want the same sail as the one I already have
To do this you will need to measure the dimensions between each corner of the sail (straight on - you don't want to follow the curvature of the sail) that you already have, making sure that it lies flat. If this sail is a trapezoid, you will also need to measure a diagonal (see diagram below). These are the dimensions you will need to enter in the form.
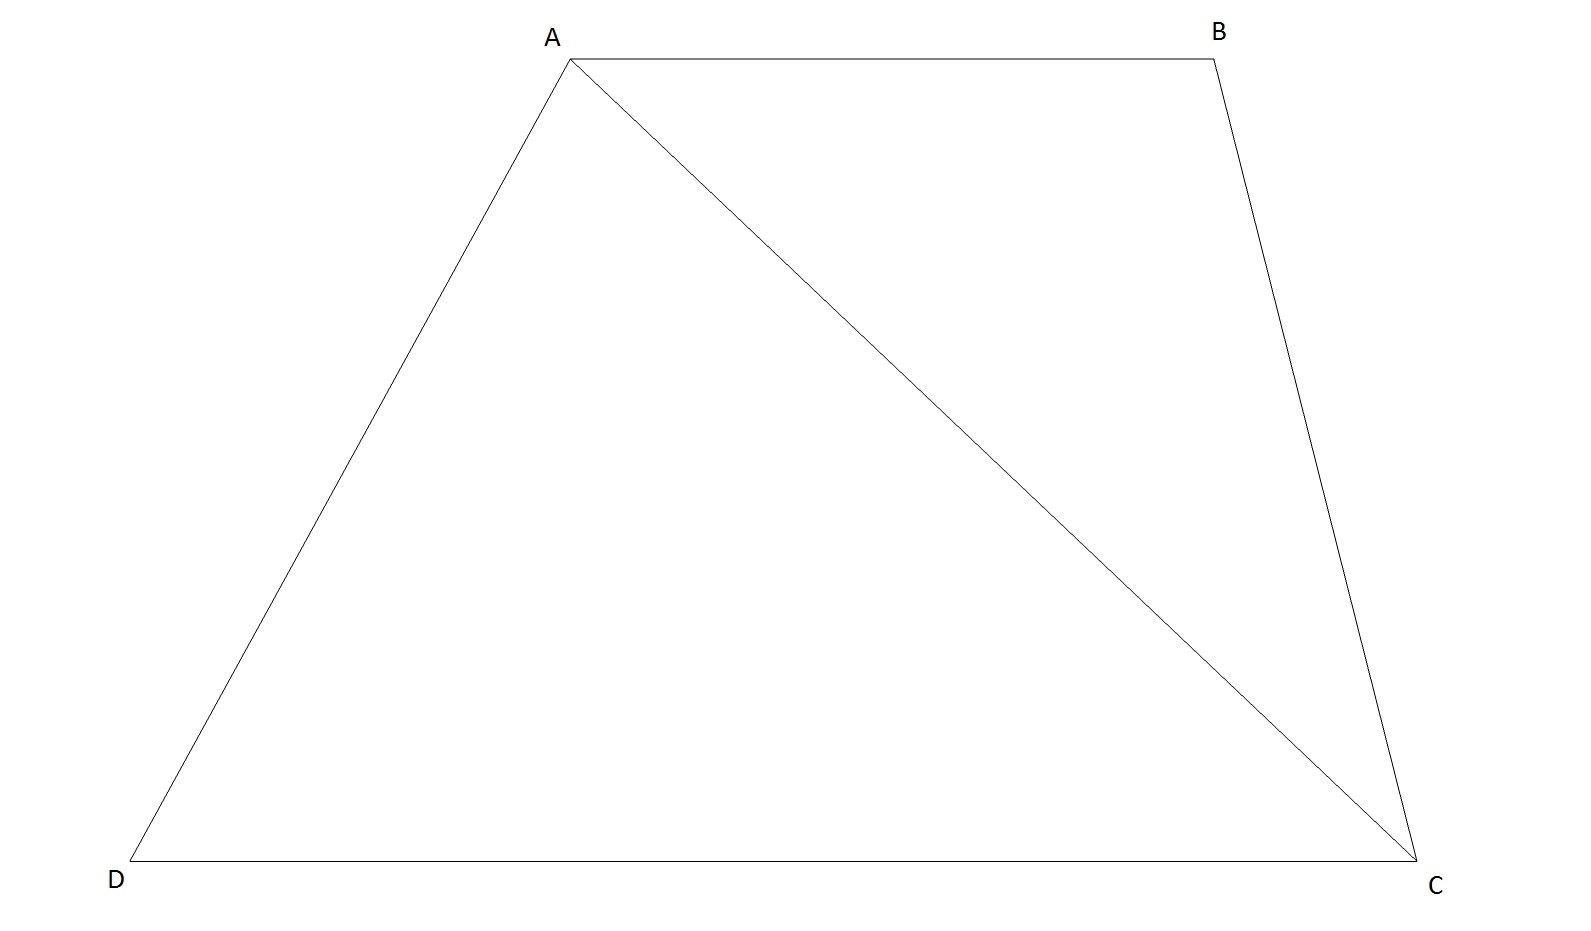
These measurements should be entered into the form. By applying these tips, you will obtain a flat sail, without folds or slack sides. A well-tensioned sail is an aesthetically pleasing sail that lasts over time.
2. Method 2: "I know the distances between fixing points
With this method, we will suggest a sail that is suitable for the location of your attachment points and calculate the optimal tension distance for this sail. You will have the choice of accepting these values, or modifying them. However, we recommend that you rely on them as they are adapted to the size and fabric of the sail. They take into account all the necessary parameters (tension axes, sail elongation, etc.).
When positioning your attachment points, we recommend that you take the following into account
- Leave 10 cm between the fixing point and an edge or corner of the wall so that the fixing does not hang too close to the edge;
- Take into account any gutters or other obstacles that could hinder the attachment of an anchoring system or be between the attachment point and the corner of the sail;
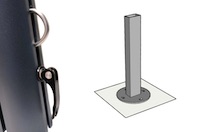
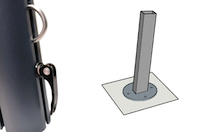
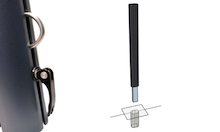
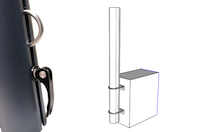
- the mast to be anchored is in the middle of a 40 x 40 cm square; the mast to be screwed is in the middle of a 22 cm circle; the mast with wall plates is offset from the wall by 5 cm;
- the sails have a negative curvature (d) on each side (see diagram below);

- each side of the sail must be between 100 cm and 750 cm ;
- the total area of the sail should not exceed 28 m².
Once you have defined your fixing points, you can measure the distance between each point (flat) and enter this data in the form. If the sail is a trapezoid, you will also need to measure a diagonal (see diagram below). We recommend you to be precise in this measurement as it will determine the dimensions of the sail.

Applying these tips will result in a flat sail with no creases or slack sides. A well-tensioned sail is an attractive and viable sail.
Which withdrawal to choose?
If you specify the dimensions between fixing points, Espace Ombrage calculates the appropriate tension distance according to the size of the sail. You can modify the distances by checking "I prefer to enter the values myself".
Please note that our sails have a certain elasticity and the tension distances are necessary in order to properly tension your sail. There is nothing worse than having a sail that you can't or can't stretch any further in time.
Which fixture ?
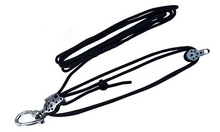
In order to complete and finalize your custom shade sail installation, you will need to choose your fasteners. By default, carabiners are included. For the Australe 340 and Acryl 300 sails, it is necessary to add tensioning systems by clicking on 'add a product'.
You can add according to your configuration:
- A reinforced tensioning system if you already have rings to fix you
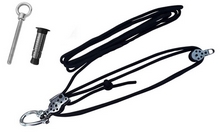
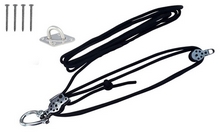
- A wall fixing with a ring (concrete, stone and brick wall OR wooden wall) and a reinforced tensioning system
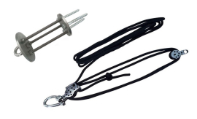
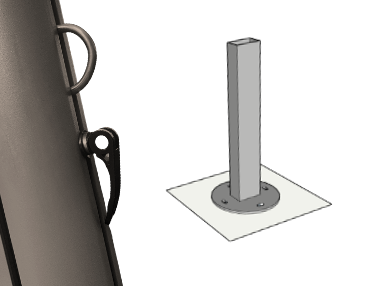
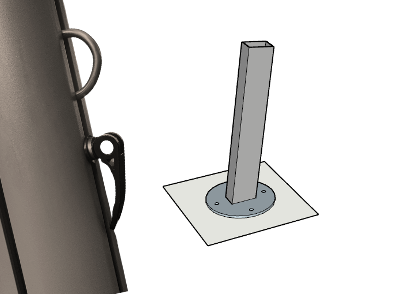
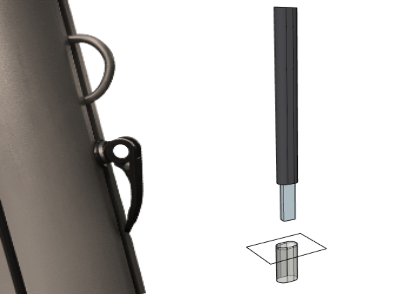
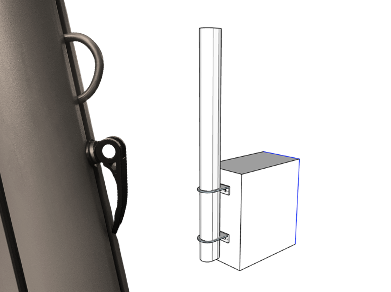
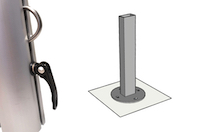
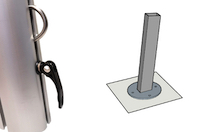
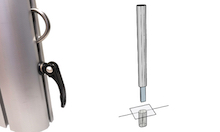
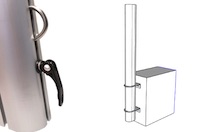
- A mast to screw, to seal or with wall plates supplied with the reinforced tensioning system.
Choose the shape
Custom made shade sails
Using the configurator
In order to correctly configure your custom-made roller shade sail, there are five steps:
-
Choice of shape: you can directly choose the shape of your shade sail: triangle, right-angled triangle, rectangle, square or trapezoid. The online configurator allows you to make a customised shade sail to better suit your configuration. You must first choose the shape of your shade cloth.
-
Fabrics and colours: Australe 340 or Acryl 300? You will find explanations of these finishes in the materials tab.
-
Dimensions: you can choose to insert the dimensions of the sail or the distances between the fixing points.
-
Withdrawals: keep the tension distance recommended by Espace Ombrage or select your own values.
-
Fixings and accessories: select the right products to keep you shade in tension.
Choose the fabric
Materials and colours
In the range of custom-made sails, we offer two materials for shade sails.
Australe 340 openwork sail
The Australe 340 openwork shade sail provides optimum protection from the sun with 97% UV filtration while withstanding winds of up to 80km/h.
Available in 12 colours, this sail will adapt to all environments and is very resistant. It is a material used for both professional and residential installations.
Acryl 300 Waterproof Sail
The Acryl 300 waterproof shade sail is a finish that filters 97% of UV rays and provides protection against rain. Its 25 colours will elegantly dress all your outdoor spaces. Because of its waterproofness, it is essential to provide a slope of 25% to drain off rainwater.
The darker the colour, the cooler you will feel under the sail. This is because darker colours limit the reflection of rays on the ground.
Choose the dimensions
Canvas dimensions
Sails can have sides of up to 750cm and a maximum area of 28m2.
It should be noted that all shade sails have curved sides with a "negative 5 to 6%". This is typical of a shade sail so that it can be properly stretched and flat. Please note that you have to choose between entering the dimensions of the sail or the distances between fixing points. If you choose the "distances between fixing points, A'B'C'" option, the sail will be smaller in order to allow for the fixing distances recommended by Espace Ombrage.
What is the difference between the dimensions of the sail and the dimensions between the fixing points?
We offer two methods to create the sail you are looking for:
- Method 1 (blue dimensions): to answer I know "the dimensions of the sail";
This method answers two situations:
- I want the same sail as the one I already have;
- I want the sail for which I have defined the dimensions myself.
- Method 2 (red dimensions): to answer I know "the distances between fixing points".
This method answers the following situation: I know the 3 or 4 points to which I want to attach my sail.
These two methods will allow you to obtain a sail whose dimensions will correspond to your environment.
Please note that all measurements in this tool are in cm.
1. Method 1: "I know the dimensions of the sail
1.1. I want the same sail as the one I already have
To do this you will need to measure the dimensions between each corner of the sail (straight on - you don't want to follow the curvature of the sail) that you already have, making sure that it lies flat. If this sail is a trapezoid, you will also need to measure a diagonal (see diagram below). These are the dimensions you will need to enter in the form.

These measurements should be entered into the form. By applying these tips, you will obtain a flat sail, without folds or slack sides. A well-tensioned sail is an aesthetically pleasing sail that lasts over time.
2. Method 2: "I know the distances between fixing points
With this method, we will suggest a sail that is suitable for the location of your attachment points and calculate the optimal tension distance for this sail. You will have the choice of accepting these values, or modifying them. However, we recommend that you rely on them as they are adapted to the size and fabric of the sail. They take into account all the necessary parameters (tension axes, sail elongation, etc.).
When positioning your attachment points, we recommend that you take the following into account
- Leave 10 cm between the fixing point and an edge or corner of the wall so that the fixing does not hang too close to the edge;
- Take into account any gutters or other obstacles that could hinder the attachment of an anchoring system or be between the attachment point and the corner of the sail;
- the mast to be anchored is in the middle of a 40 x 40 cm square; the mast to be screwed is in the middle of a 22 cm circle; the mast with wall plates is offset from the wall by 5 cm;
- the sails have a negative curvature (d) on each side (see diagram below);

- each side of the sail must be between 100 cm and 750 cm ;
- the total area of the sail should not exceed 28 m².
Once you have defined your fixing points, you can measure the distance between each point (flat) and enter this data in the form. If the sail is a trapezoid, you will also need to measure a diagonal (see diagram below). We recommend you to be precise in this measurement as it will determine the dimensions of the sail.

Applying these tips will result in a flat sail with no creases or slack sides. A well-tensioned sail is an attractive and viable sail.
Choose the withdrawals
Which withdrawal to choose?
If you specify the dimensions between fixing points, Espace Ombrage calculates the appropriate tension distance according to the size of the sail. You can modify the distances by checking "I prefer to enter the values myself".
Please note that our sails have a certain elasticity and the tension distances are necessary in order to properly tension your sail. There is nothing worse than having a sail that you can't or can't stretch any further in time.
Choose the fixings
Which fixture ?
In order to complete and finalize your custom shade sail installation, you will need to choose your fasteners. By default, carabiners are included. For the Australe 340 and Acryl 300 sails, it is necessary to add tensioning systems by clicking on 'add a product'.
You can add according to your configuration:
- A reinforced tensioning system if you already have rings to fix you
- A wall fixing with a ring (concrete, stone and brick wall OR wooden wall) and a reinforced tensioning system
- A mast to screw, to seal or with wall plates supplied with the reinforced tensioning system.


