More details on your custom-made sail
Choice of shape
You can directly choose the shape of your shade sail: triangle, right triangle, rectangle, square or trapezoid.
Material of the canvas
2 ranges of materials according to your objectives and constraints.
Protection from sun and rain: acryl 300
The Acryl 300 finish provides effective protection against rain with an acrylic fabric and against the sun's rays with 97% UV filtration. The sail can withstand winds of up to 60km/h. The 25 colours of these finishes will add a unique touch to your outdoor spaces. A 25% slope will be required for rainwater drainage.
Sun protection with good wind resistance: southern 340
To meet these characteristics, the Australe 340 aperture is the one that scores the most points. With 97% UV filtration and wind resistance of up to 80km/h. Its strength and finish make the Australe 340 one of the most versatile sails on the market.
Dimensions of the shade sail or dimensions between fixing points
You have the choice to insert the dimensions of the sail or the distances between the attachment points. You should also specify in this step the furling axis and the position of the manoeuvring rope (avoid positioning your endless rope in front of a window as you will have a fixed rope in the vertical position to handle the sail).
Sails can have sides of up to 750cm and a maximum area of 28m2.
It should be noted that all roller shade sails have curved sides with a "negative 3%". This is typical of a shade sail so that it can be properly stretched and flat.
What is the difference between the dimensions of the sail and the dimensions between the fixing points?
We offer two methods to create the furling sail you are looking for:
- Method 1 (blue dimensions): to answer "I know the dimensions of the sail";
This method answers two situations:
- I want the same sail I already have;
- I want the sail for which I have defined the dimensions myself.
- Method 2 (red dimensions): to answer the question "I know the distances between fixing points".
This method answers the following situation: I know the 3 or 4 points to which I want to attach my sail.
With this method, we will propose a sail adapted to the location of your attachment points and calculate the optimal tension distance for this sail in your situation. You will have the choice of accepting these values, or changing them. However, we recommend that you rely on them as they are adapted to the constraints of furling sails. They take into account all the necessary parameters (tension axes, sail elongation, etc.).
When positioning your attachment points, we recommend that you take the following into account
- Leave 10 cm between the fixing point and an edge or corner of the wall so that the fixing does not hang too close to the edge;
- Take into account any gutters or other obstacles that could hinder the attachment of an anchoring system or be between the attachment point and the corner of the sail;
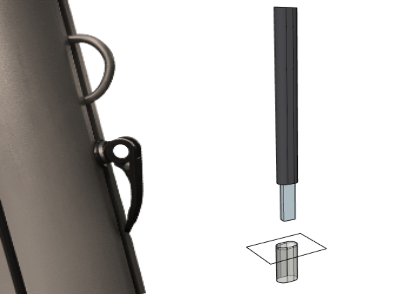
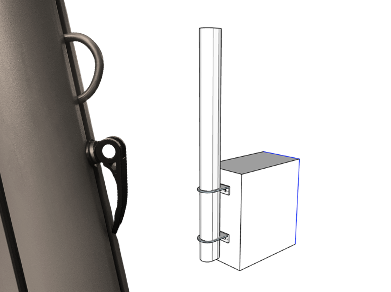
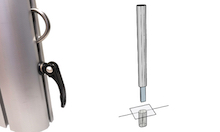
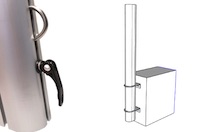
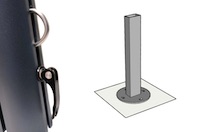
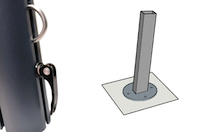
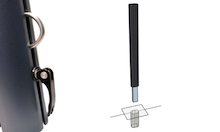
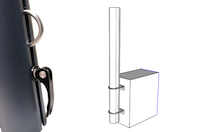
- the mast to be anchored is in the middle of a 40 x 40 cm square; the mast to be screwed is in the middle of a 22 cm circle; the mast with wall plates is offset from the wall by 7 cm;
each side of the sail must be between 100 cm and 750 cm;
- the total surface area of the sail should not exceed 28 m².
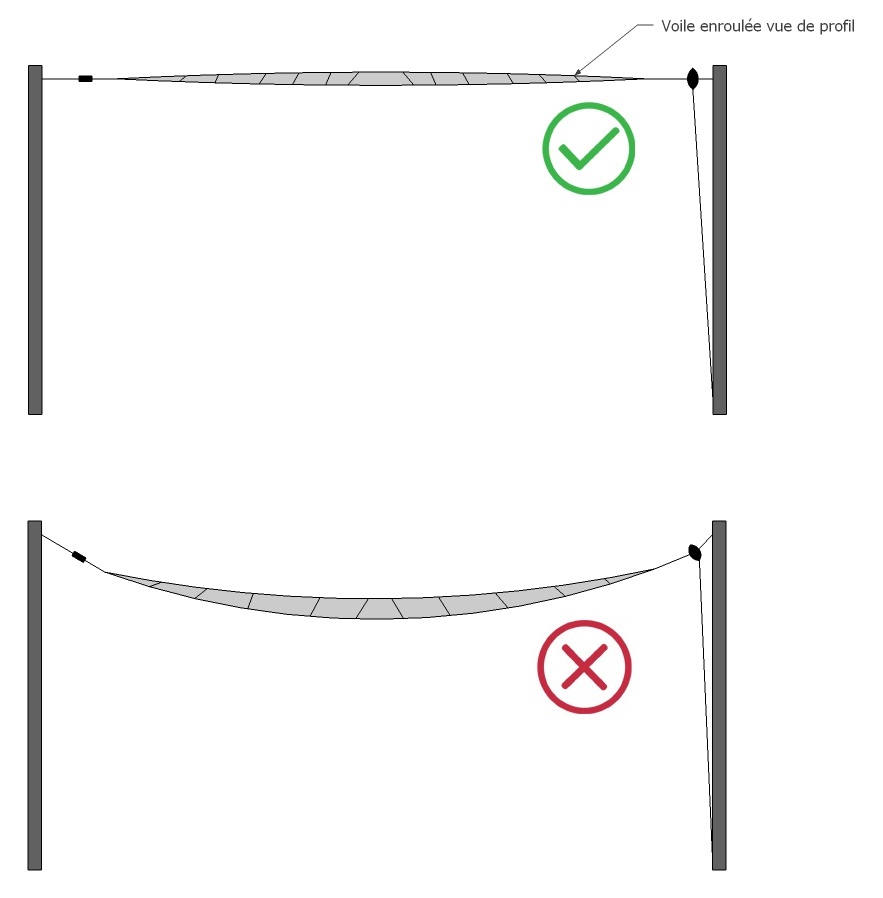
If you follow these guidelines, you will have a flat sail with no creases or slack sides. A well-tensioned furling sail is an aesthetic sail that rolls in and out easily. Your furling line should be stretched like an I and not form a 'banana'.
Both of these methods will give you a sail that fits your environment.
Please note that all measurements in this tool are in cm.
The reefing finish is ideal for installations that are highly exposed to wind or that require daily dismantling of the sail as it allows the sail to be reefed or unfurled in less than a minute.
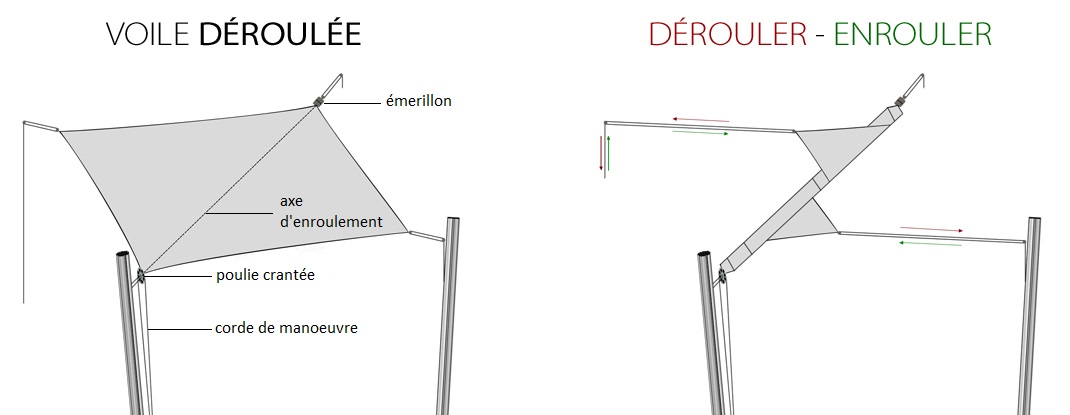
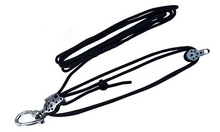
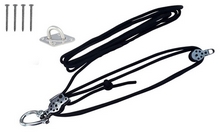
It consists of a reinforcement on the sail along the furling line and the furling system (swivel on one side, toothed pulley and rope on the other).
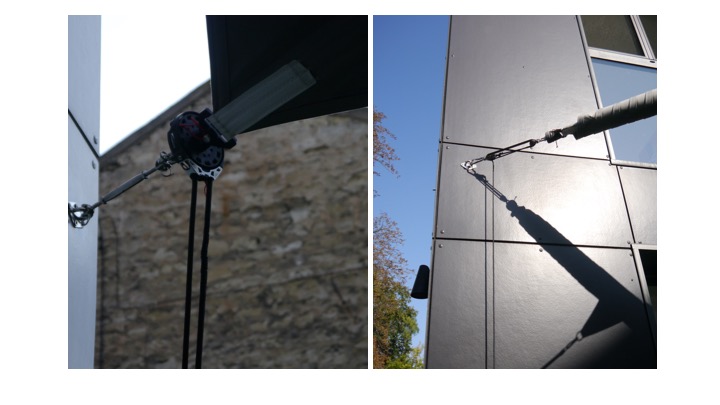
A furling sail requires different fasteners than a standard sail. They are essential for the proper functioning and viability of the system.
The sail will only rotate if the furling line is correctly tensioned and straight. Otherwise, the sail may not be able to roll up.
You will find our recommendations in the help page for the choice of fixings by clicking on this link.
1. Choice of reel axis
For triangular sails, the furling axis is one of the sides; for quadrilateral sails, it is one of the diagonals.
However, not all of these axes can always be chosen because the sail must be furled correctly:
In addition, care should be taken to ensure that the reel shaft does not run along a wall, as the toothed pulley would rub against it and be impeded in its operation.
If possible, it is better to hang the reel between two walls (or a wall and a mast) rather than between two masts.
2. Choosing the position of the handling rope
The operating rope is the rope that allows the reel to be used. It is located at either end of the reel shaft.
If your installation has walls and masts, it is best to place the rope (with the notched pulley) on a wall.
Without this constraint, we advise you to place it where it will be more convenient for you to use it on a daily basis.
3. Choice of fixings
Here are the rules for choosing the right fasteners for a roller shade sail to ensure that the roll-up system works properly: in the case of a quadrilateral shade sail it will be sufficient to add a fourth standard tensioning system for the fourth fastening point (see diagrams below).
We recommend that you choose the fixings according to our recommendations for each of the corners in the last step "Fixings" so that the installation can be complete and functional.
Shrinkage and tensioning distances at different angles
The recesses at each corner are specific to the angles for furling sails.
Namely: 35 cm on the toothed pulley side
And a minimum of 55 cm on the other corners.
The configurator calculates the appropriate distances according to the size of the sail.
It is not recommended to have a distance greater than 150cm on the swivel side for smooth furling/unfurling.
Fixtures and accessories
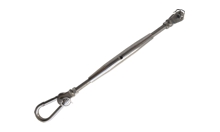
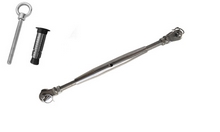
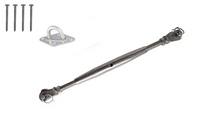
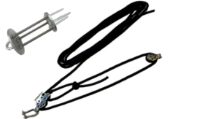
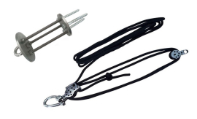
In order to complete and finalise your furling sail installation, you will need to choose your fasteners. We recommend the following tensioning systems:
- a short tensioning system on the rope side of the furler;
- a reinforced tensioning system at the other end of the reel;
- standard tensioning systems for the other angles (1 if triangular sail, 2 if quadrilateral sail).
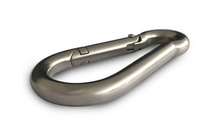
Carabiners are used by default at this stage. It is necessary to add tensioning systems by clicking on 'add a product'.
Depending on your configuration, you can add :
- A short, long standard or long reinforced tensioning system depending on the angles if you already have rings to fix you
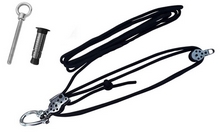
- A wall fixing with a ring (concrete, stone and brick wall OR wooden wall) and a short, standard or reinforced tension system depending on the angles
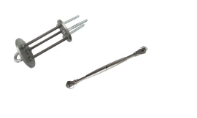
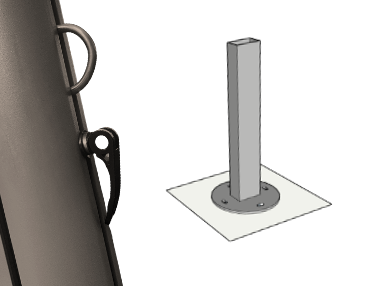
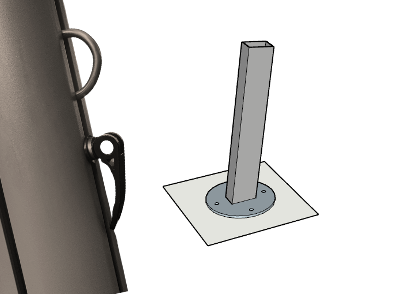
- A mast to be screwed, embedded or with wall plates supplied with the short, standard or reinforced tensioning system depending on the angles.
It will be necessary to reinforce the masts with a guy for the roll-up axis if your sails are larger than 22m2.
Choose the shape
Choice of shape
You can directly choose the shape of your shade sail: triangle, right triangle, rectangle, square or trapezoid.
Choose the fabric
Material of the canvas
2 ranges of materials according to your objectives and constraints.
Protection from sun and rain: acryl 300
The Acryl 300 finish provides effective protection against rain with an acrylic fabric and against the sun's rays with 97% UV filtration. The sail can withstand winds of up to 60km/h. The 25 colours of these finishes will add a unique touch to your outdoor spaces. A 25% slope will be required for rainwater drainage.
Sun protection with good wind resistance: southern 340
To meet these characteristics, the Australe 340 aperture is the one that scores the most points. With 97% UV filtration and wind resistance of up to 80km/h. Its strength and finish make the Australe 340 one of the most versatile sails on the market.
Choose the dimensions
Dimensions of the shade sail or dimensions between fixing points
You have the choice to insert the dimensions of the sail or the distances between the attachment points. You should also specify in this step the furling axis and the position of the manoeuvring rope (avoid positioning your endless rope in front of a window as you will have a fixed rope in the vertical position to handle the sail).
Sails can have sides of up to 750cm and a maximum area of 28m2.
It should be noted that all roller shade sails have curved sides with a "negative 3%". This is typical of a shade sail so that it can be properly stretched and flat.
What is the difference between the dimensions of the sail and the dimensions between the fixing points?
We offer two methods to create the furling sail you are looking for:
- Method 1 (blue dimensions): to answer "I know the dimensions of the sail";
This method answers two situations:
- I want the same sail I already have;
- I want the sail for which I have defined the dimensions myself.
- Method 2 (red dimensions): to answer the question "I know the distances between fixing points".
This method answers the following situation: I know the 3 or 4 points to which I want to attach my sail.
With this method, we will propose a sail adapted to the location of your attachment points and calculate the optimal tension distance for this sail in your situation. You will have the choice of accepting these values, or changing them. However, we recommend that you rely on them as they are adapted to the constraints of furling sails. They take into account all the necessary parameters (tension axes, sail elongation, etc.).
When positioning your attachment points, we recommend that you take the following into account
- Leave 10 cm between the fixing point and an edge or corner of the wall so that the fixing does not hang too close to the edge;
- Take into account any gutters or other obstacles that could hinder the attachment of an anchoring system or be between the attachment point and the corner of the sail;
- the mast to be anchored is in the middle of a 40 x 40 cm square; the mast to be screwed is in the middle of a 22 cm circle; the mast with wall plates is offset from the wall by 7 cm;
each side of the sail must be between 100 cm and 750 cm;
- the total surface area of the sail should not exceed 28 m².
If you follow these guidelines, you will have a flat sail with no creases or slack sides. A well-tensioned furling sail is an aesthetic sail that rolls in and out easily. Your furling line should be stretched like an I and not form a 'banana'.
Both of these methods will give you a sail that fits your environment.
Please note that all measurements in this tool are in cm.
Choix des enrouleurs
The reefing finish is ideal for installations that are highly exposed to wind or that require daily dismantling of the sail as it allows the sail to be reefed or unfurled in less than a minute.

It consists of a reinforcement on the sail along the furling line and the furling system (swivel on one side, toothed pulley and rope on the other).

A furling sail requires different fasteners than a standard sail. They are essential for the proper functioning and viability of the system.
The sail will only rotate if the furling line is correctly tensioned and straight. Otherwise, the sail may not be able to roll up.

You will find our recommendations in the help page for the choice of fixings by clicking on this link.
1. Choice of reel axis
For triangular sails, the furling axis is one of the sides; for quadrilateral sails, it is one of the diagonals.
However, not all of these axes can always be chosen because the sail must be furled correctly:
In addition, care should be taken to ensure that the reel shaft does not run along a wall, as the toothed pulley would rub against it and be impeded in its operation.
If possible, it is better to hang the reel between two walls (or a wall and a mast) rather than between two masts.
2. Choosing the position of the handling rope
The operating rope is the rope that allows the reel to be used. It is located at either end of the reel shaft.
If your installation has walls and masts, it is best to place the rope (with the notched pulley) on a wall.
Without this constraint, we advise you to place it where it will be more convenient for you to use it on a daily basis.
3. Choice of fixings
Here are the rules for choosing the right fasteners for a roller shade sail to ensure that the roll-up system works properly: in the case of a quadrilateral shade sail it will be sufficient to add a fourth standard tensioning system for the fourth fastening point (see diagrams below).
We recommend that you choose the fixings according to our recommendations for each of the corners in the last step "Fixings" so that the installation can be complete and functional.
Choose the withdrawals
Shrinkage and tensioning distances at different angles
The recesses at each corner are specific to the angles for furling sails.
Namely: 35 cm on the toothed pulley side
And a minimum of 55 cm on the other corners.
The configurator calculates the appropriate distances according to the size of the sail.
It is not recommended to have a distance greater than 150cm on the swivel side for smooth furling/unfurling.
Choose the fixings
Fixtures and accessories
In order to complete and finalise your furling sail installation, you will need to choose your fasteners. We recommend the following tensioning systems:
- a short tensioning system on the rope side of the furler;
- a reinforced tensioning system at the other end of the reel;
- standard tensioning systems for the other angles (1 if triangular sail, 2 if quadrilateral sail).
Carabiners are used by default at this stage. It is necessary to add tensioning systems by clicking on 'add a product'.
Depending on your configuration, you can add :
- A short, long standard or long reinforced tensioning system depending on the angles if you already have rings to fix you
- A wall fixing with a ring (concrete, stone and brick wall OR wooden wall) and a short, standard or reinforced tension system depending on the angles
- A mast to be screwed, embedded or with wall plates supplied with the short, standard or reinforced tensioning system depending on the angles.
It will be necessary to reinforce the masts with a guy for the roll-up axis if your sails are larger than 22m2.


